Sunday, May 18, 2014

Vinyl Decals to the rescue!

For awhile now I wanted to bring in a black-n-white piece of wall art in the master bedroom. It had to be something other than a canvas painting, mirror or photo frames, since we already had those. I started looking for different materials for wall art- metal, wood, ceramic...and finally settled for a vinyl decal.

Vinyl decals come in SO many varieties, there are websites full of options and I kept browsing and browsing. Finally I realized that we need to bring in the 'glamour' factor in our room and decided on a chandelier decal.

At one of my Michaels haul's, I picked up the decal, a big piece of canvas and some jewels (I needed jewels for another project too, you will hear about that soon ;) ). As part of my long-term plan, I did not want to apply the decal directly on the wall because I wanted to keep the option of moving it in the future. This is one of the rules that I have been applying to all my decor pieces - nothing should be permanent, I want to always have the option of moving pieces around.

Honestly, this was a 20 minute project. I started by sticking the decal on the canvas. This one came in 4 pieces and I just had to put it together one by one.
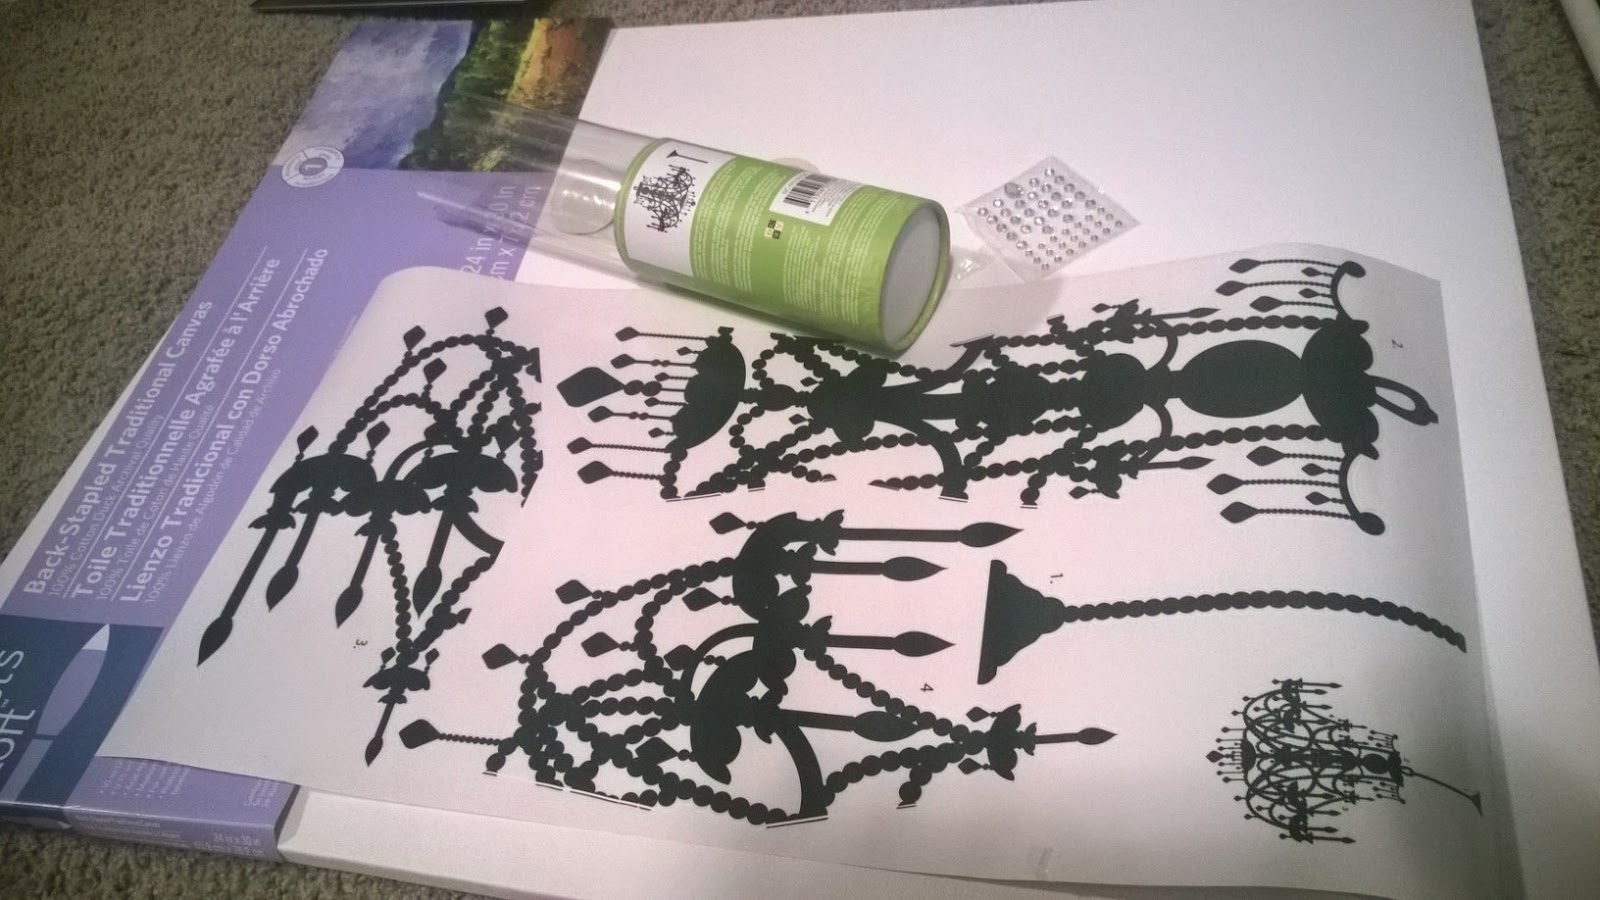


Once I got the decal in place, I played around with the jewels. I positioned/re-positioned them to get 'the look', before glueing them down. I used a heavy-duty glue to make sure that they never fall off!


Once the glue was dry, it was ready to go on the wall. It was super light-weight and all I needed was a couple of push-pins.
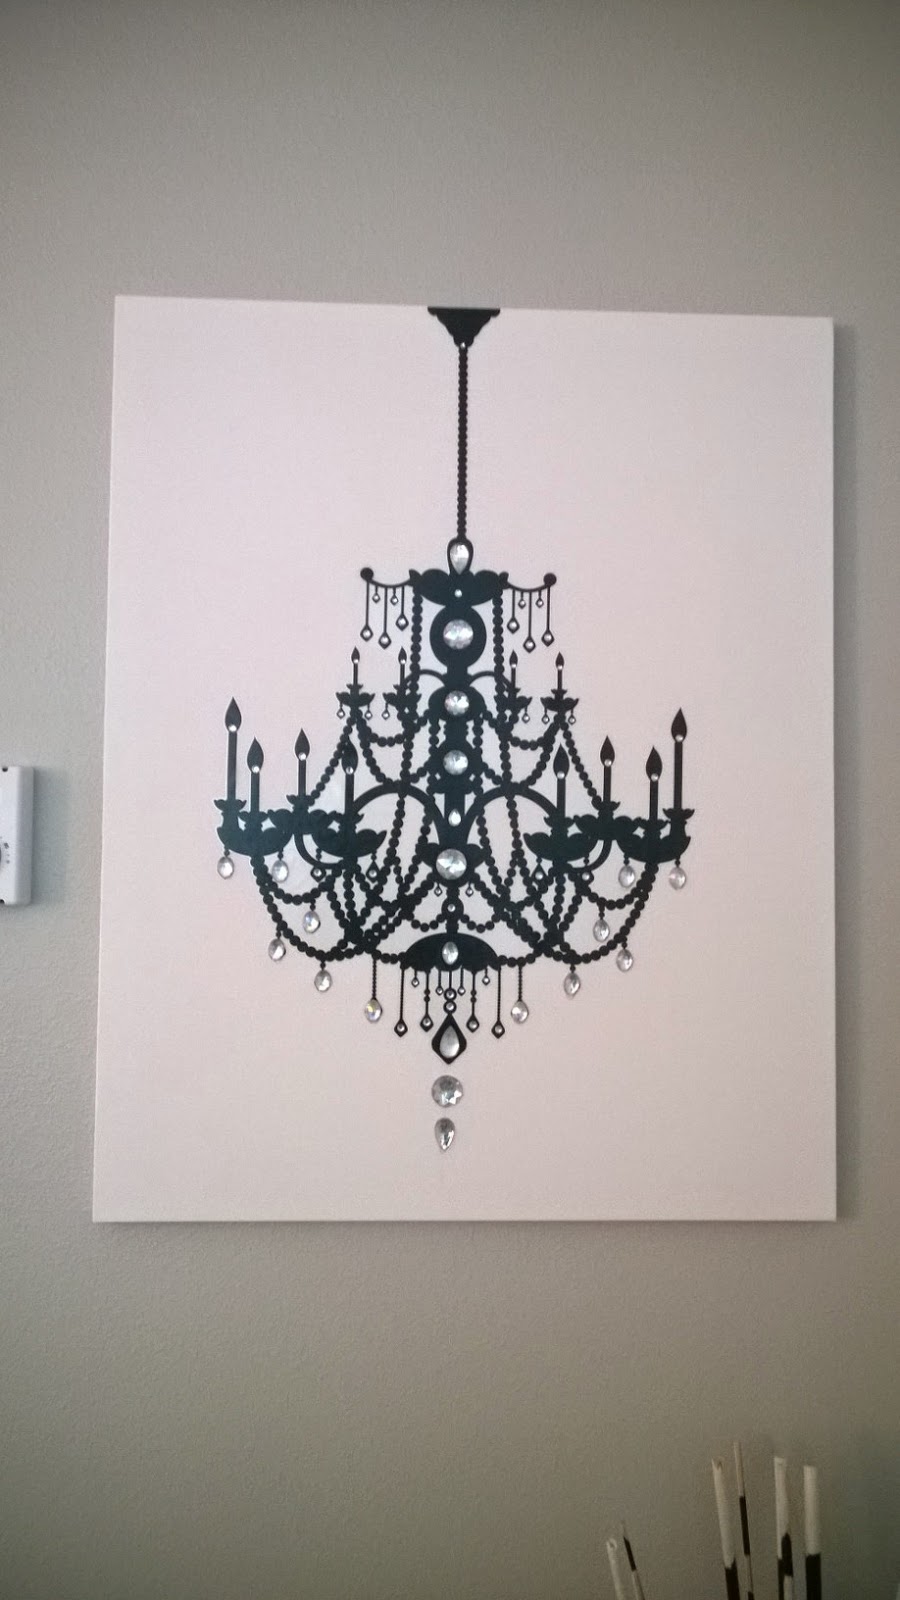


Below are a couple of angles to see how it fits in with the rest of the room.


I have to say that I have a new found love for vinyl decals..they are so much fun and add a lot of personality to your space. If you ever rocked the decal look in your house, do share!

Sunday, May 11, 2014

Den what happened?

The listing called it a 'bedroom', we placed furniture that consisted of a desk, chair, bookshelves and a futon, hence extending the functionality of this room, depending on the need...

  • It houses our desktop computer, printer, books and documents, so that officially makes it a den/home-office
  • I move the chair away and lay my yoga mat to practice my sun-salutations, so it is a lil exercise studio
  • The futon cover hides 2 full-sized mattresses, making this room a 'crash pad' for our single friends
  • The closet stores all my indian/ethnic clothes, which get accessed not more than 4 times a year, making it a storage room
We had moved with all the furniture and did not really need to invest in the big pieces, we just had to indulge in some cosmetic changes. Since one wall has the closet, with the opposite wall containing a large window, I only had to plan for 2 empty sides of the room, making this job very easy...

Wall #1:
To allow our humble, white Ikea bookshelves to stand-out, we painted the wall a dark gray. I added the cherry red accents via boxes and photo frames. The clear containers (2nd cube on the left bookshelf) keep all my crafting tools intact and easily accessible. Magazines, scrapbooks, scrapbooking material, photo albums and books are all contained within the open shelving.


Wall #2:
The futon sticks to the wall and our diplomas and graduation pictures are part of the collage. I found a massive clip at Michaels and a poster with some very wise words. I glued the poster on a piece of cardboard and used the clip to hold it. The clip and the photo frames contribute to the cherry red accents.


Last but not the least, I added one final playful element to this room. I took a roll of cherry red masking tape and stuck it to the side of the door. You can only see this detail when the door is open, but it carries the color across the room. This was such a quick update and needed no commitment :)


This is all I got for this post....if you did anything fun with your home office, do leave a comment, or even better, share a picture!

Sunday, April 27, 2014

Recycle - Shred - File - Store

My sincere apologies for the disappearing act! The last few weeks were busy with work, family and enjoying the few bouts of sunshine, and I hardly had any time for house-projects. But I am back...this time with ideas on managing and organizing paper...
As the world continues to get digitized and all our important stuff is accessible online, our house continues to be overwhelmed by paper...think statements, notices, coupons, invitations, 'for your record' items etc.
While living the single life, I had all my paperwork organized in dedicated folders, that was tucked away in the back of a closet. But with being married and then moving 3 times, our piles of important documents have doubled! We both have our sets of bills, pay-stubs, college documents, tax returns, employment histories, car records, medical records..and to top it off...house papers! Even though a lot of stuff went through e-sign, we have binders full of documents that we have to save 'just in case you need them' to prove that we REALLY do own this house!?

Pre-requisite: Before we embarked upon this journey of paper management, we went ' green' on all our monthly statements. Our cell phone, utilities, HOA, mortgage, TV/internet bills are all online-only. We even opted for paper-free versions (read: PDFs) for credit card and bank statements. That was half the battle won.

To tackle the remaining chaos, I broke it down in 2 steps:
1. A single station to manage intake
2. Sort, File and Store

Step 1: Intake Process: We have a dedicated spot in the kitchen where all the mail comes in.

  • The promotional stuff, along with any other junk goes straight to the recycle bin (the black bin on the left). Anything that has our personal information (address, account info, etc.) is taken to the shredder. I get such a high when I hear those promotional credit cards dying an early death...sorry for making paperwork gory :P
  • The stuff that needs further attention (bills, invitations, etc.) is stored in the back slot. 
  • Address labels, stamps and empty envelopes are stored together in the middle slot.
  • Coupons go in the left-most slot and pens and markers in the right-most.
  • For a higher success rate on this process, ensure that the husband follows this process and call him out if he doesn't :)


Step 2: All the paper that needs to be stored for future reference goes through its own sorting and filing process.

In the new house, as I was trying to make sense of the fastest and cleanest way for filing and storing paper, I decided to hit Staples in search of inspiration. I came back equipped with things that were easy to put together as well as sustainable for storing more documents in the future. This was my ammo:
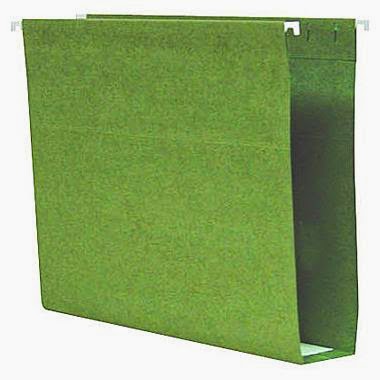
3 inch filing folder
Assorted colored filing folders in bulk
a plastic filing tote where I could tuck all the paper away

  • When we moved, we had a massive cardboard box, full of documents. First I laid it all out...then made 'recycle' and 'shred' piles and got rid of a bunch of unwanted paper.

  • I used the wide, 3 inch folders, one for each of us, to store personal documents - transcripts, certificates, education histories, etc. 
  • I used the assorted colored folders and gave each one of them a dedicated tab. This was used to store more of the common paperwork - car records, tax returns, health and medical documents, new house paperwork, bills, etc.
  • I brought out the 2 plastic totes; the wide folders went in one and the assorted folders went in the other.
These totes have a lot of space, the box on the left is still half empty, allowing for 'future expansion'
  • I shut the lid and neatly stowed them away in the office closet. As a result of this, I was able to get rid of all the disparate and random collection of folders and binders that I once used to store paper. 
    This hardly takes up any room in the closet
    random folders that can now we used for something else
So far we have been able to keep up with this process and our counter-tops and shelves are free of lose sheets of paper. If there is a technique that you have adopted to manage your paper-chaos, do share!

Sunday, March 30, 2014

ROOAAAAARRRRR.......

I almost gave up on a project this week!? Crazy work week...cranky puppy...crappy weather...0 workouts...husband out of town...you get the point!

Since I had no time to research, shop for materials or find a mini-project that did not take much time, I found myself staring at my side-table, as I woke up this morning. Amit and I have reached a happy medium where the bed frame, bedding and curtains have shades of gray and brown, and I get to throw in an accent of purple/lavender for the wall art, side-table and rug. I looked at this piece of furniture and just knew that it needed some spicing up!


I pulled out a drawer and set it on its side...ignore Mojo doing his investigation...as always


I got hold of my most faithful friend...a black Sharpie :) It came to me that all this needs is some animal print. I just started doodling some leopard print. I broke it down into large and medium spots and then fillers.

Once I got through the whole side, I picked a shade of Purple to fill in. This is going by the color theme in the room.


This whole side took around 20 minutes to finish. It was ready to go back in...here is a preview.


I repeated the process with the top-drawer and this is what the finished side looks like...


I just have another side on this table and another side-table to go. I'll get to it when I need some therapy time...it's weird, but coloring works as therapy for me and I can get through a lot of crap in my head!

This is all from me today...If you have other 'spicing up' ideas for your side table or accent table, do share!
 
Blogger Template By Designer Blogs